
 图书管理系统:图书模块后端开发
写完用户模块的后端代码,我们继续来写图书模块。
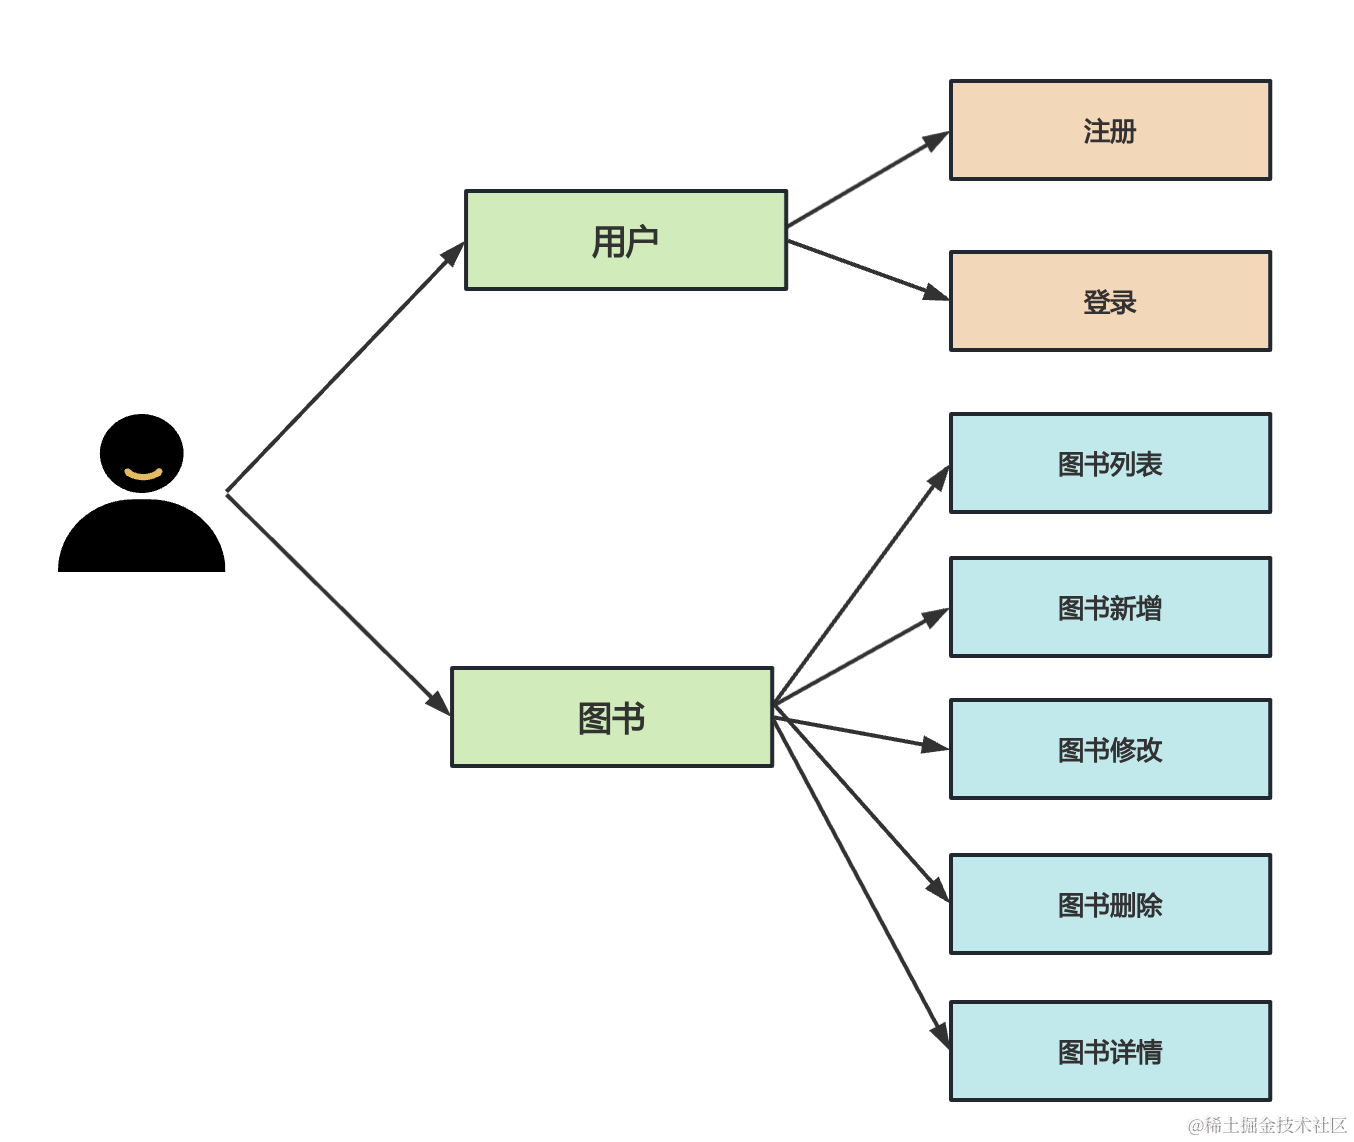
这个模块的接口就是增删改查:
我们来添加下 book 模块:
nest g resource book

不用生成 crud 代码了,我们自己来写就行。
# 添加路由
该下 BookController,添加一些路由:
import { Body, Controller, Delete, Get, Param, Post, Put } from '@nestjs/common';
import { BookService } from './book.service';
import { CreateBookDto } from './dto/create-book.dto';
import { UpdateBookDto } from './dto/update-book.dto';

@Controller('book')
export class BookController {
  constructor(private readonly bookService: BookService) {}

  @Get('list')
  async list() {
    return this.bookService.list();
  }

  @Get(':id')
  async findById(@Param('id') id: string) {
    return this.bookService.findById(+id);
  }

  @Post('create')
  async create(@Body() createBookDto: CreateBookDto) {
    return this.bookService.create(createBookDto);
  }

  @Put('update')
  async update(@Body() updateBookDto: UpdateBookDto) {
    return this.bookService.update(updateBookDto);
  }

  @Delete('delete/:id')
  async delete(@Param('id') id: string) {
    return this.bookService.delete(+id);
  }
}
2
3
4
5
6
7
8
9
10
11
12
13
14
15
16
17
18
19
20
21
22
23
24
25
26
27
28
29
30
31
32
33
34
我们新增了 /book/list、/book/:id 这两个查询的接口。
新增了 /book/create、/book/update、/book/delete/:id 这三个增删改的接口。
然后创建用到的 dto:
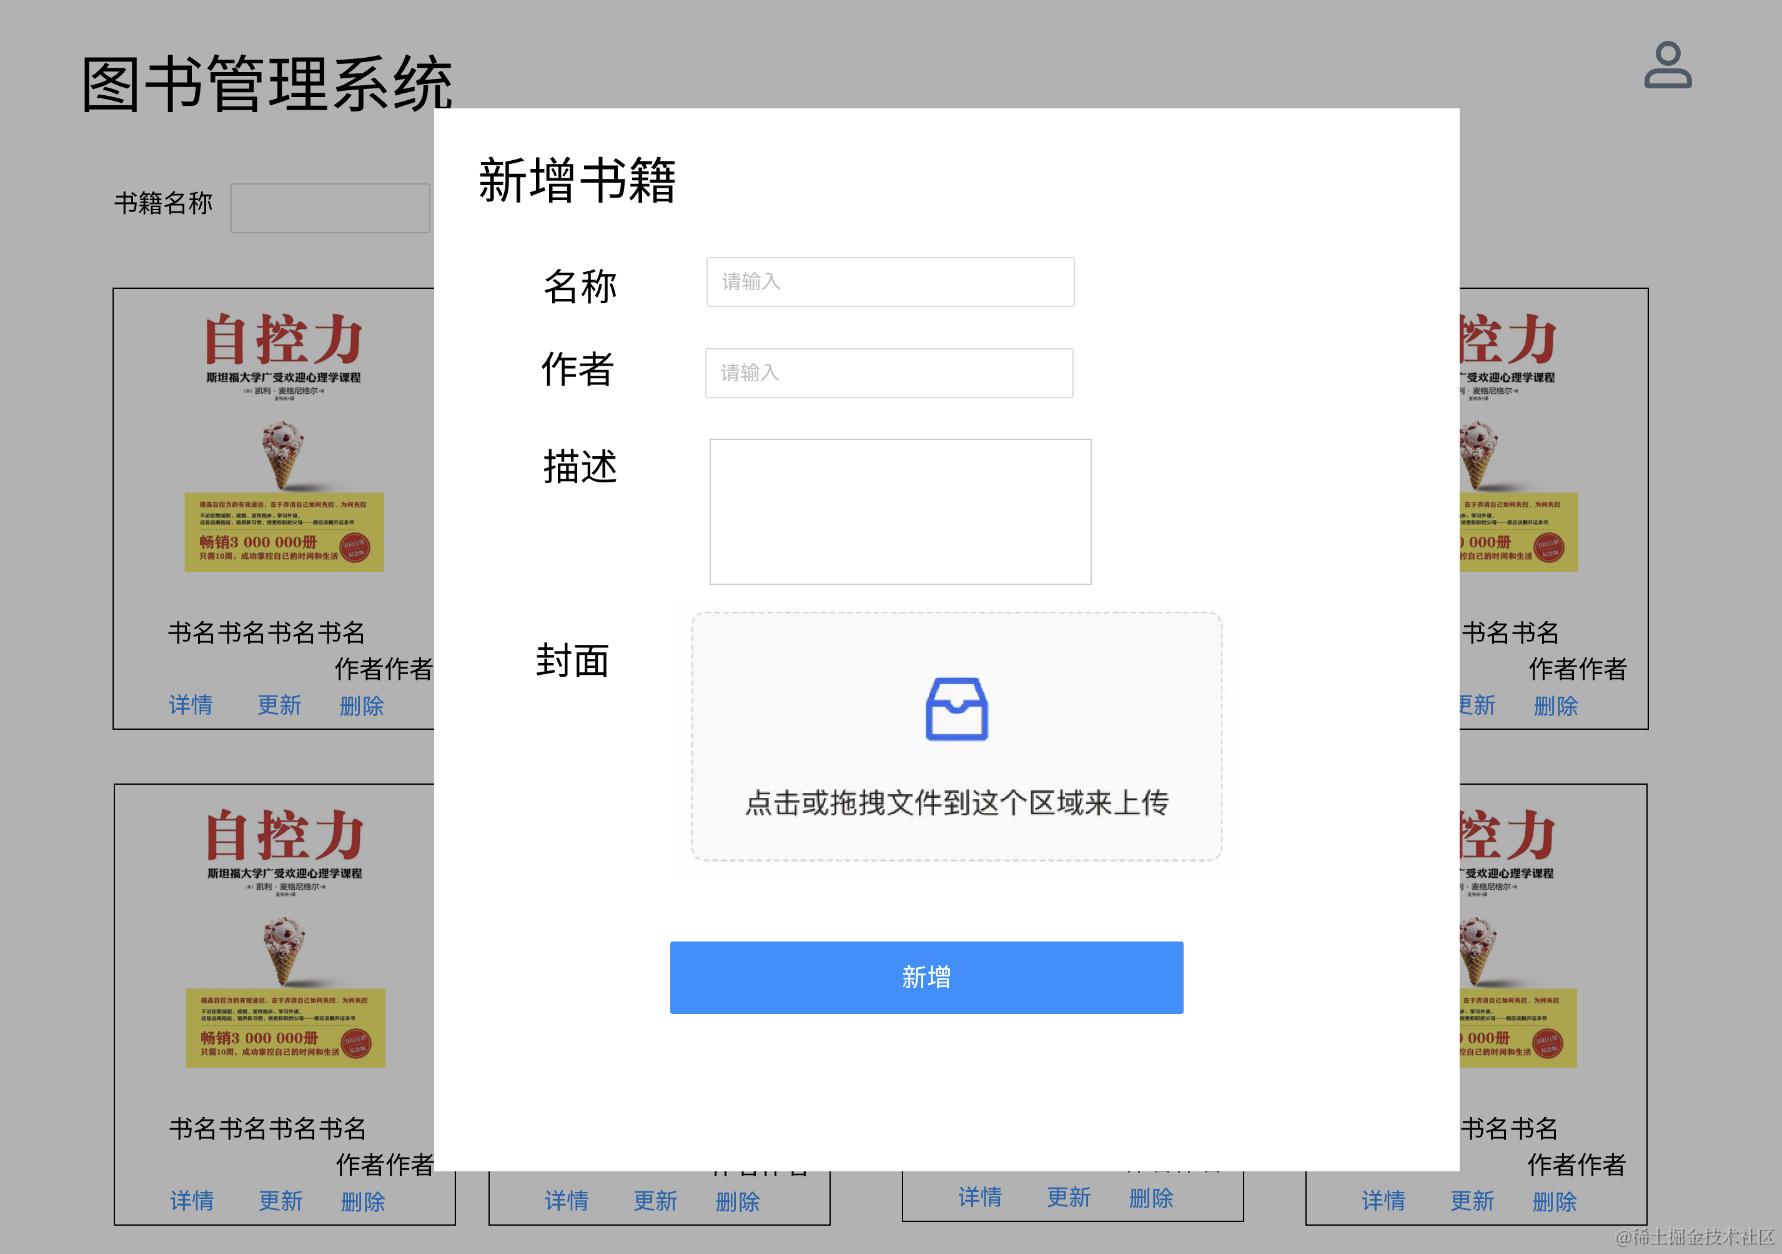
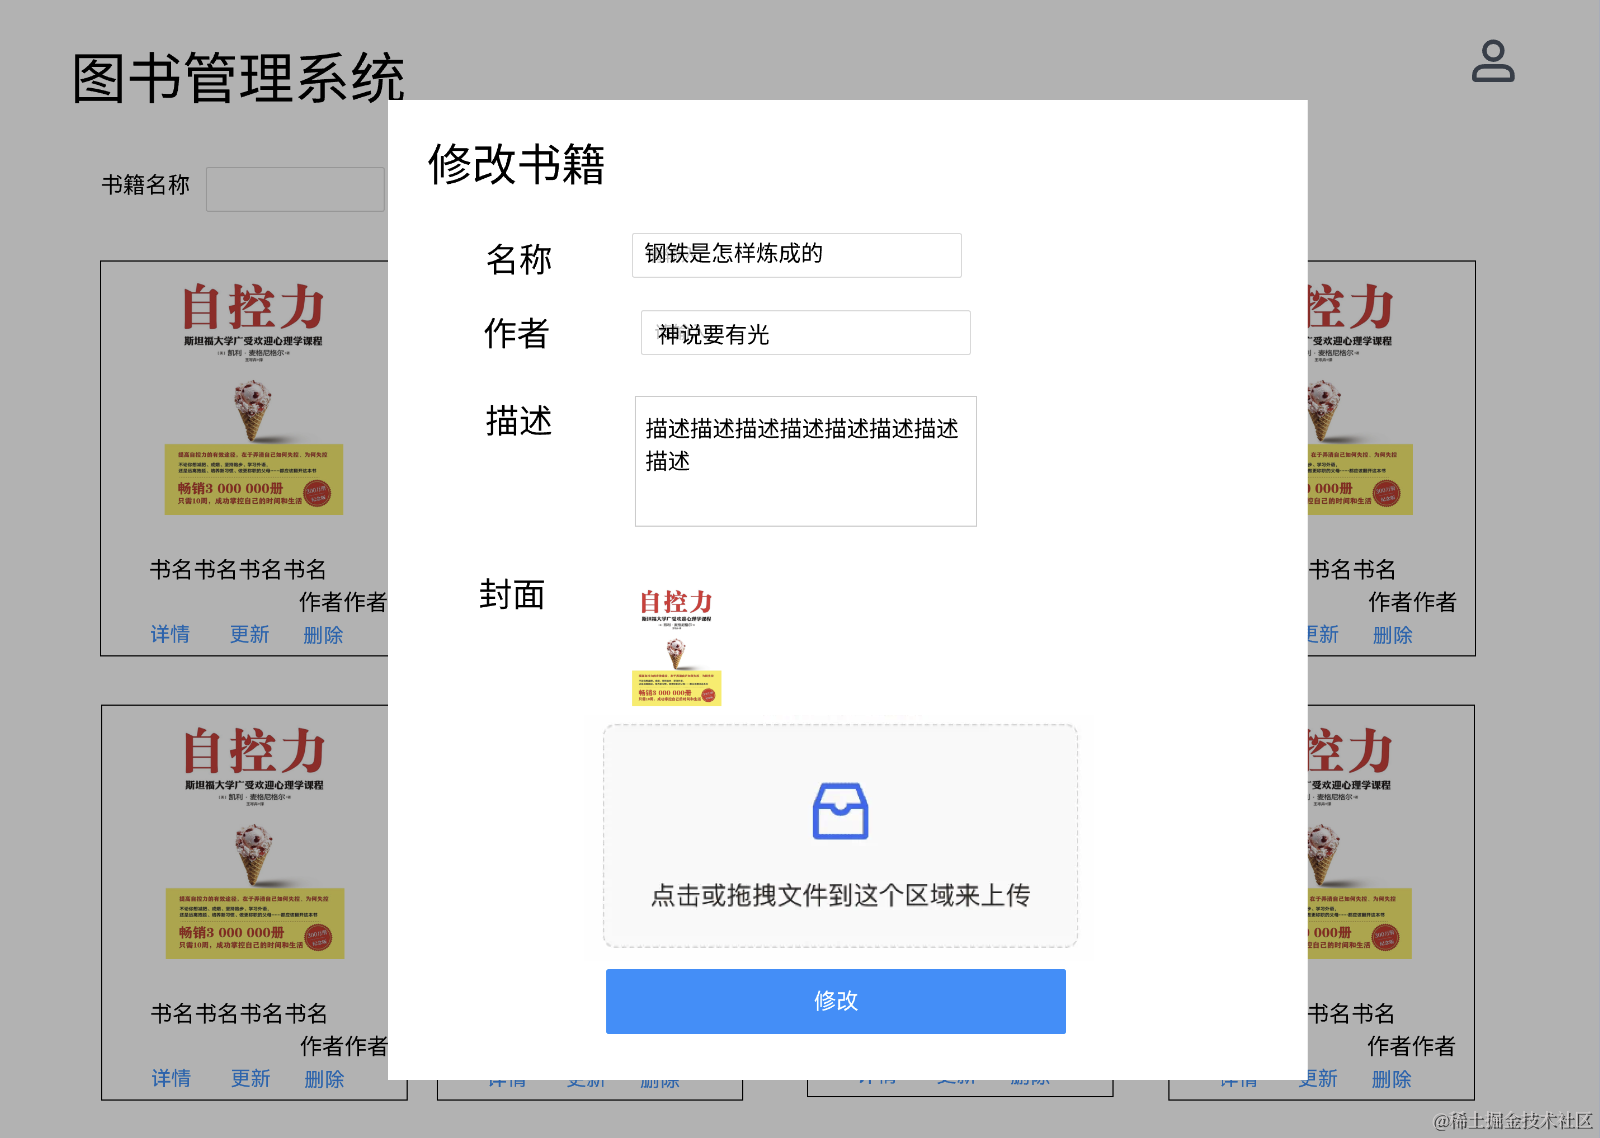
这里 CreateBookDto 和 UpdateBookDto 都根据原型图来确定字段:
book/dto/create-book.dto.ts
import { IsNotEmpty } from "class-validator";

export class CreateBookDto {
    @IsNotEmpty({ message: '书名不能为空' })
    name: string;

    @IsNotEmpty({ message: '作者不能为空' })
    author: string;

    @IsNotEmpty({ message: '描述不能为空' })
    description: string;

    @IsNotEmpty({ message: '封面不能为空' })
    cover: string;
}
2
3
4
5
6
7
8
9
10
11
12
13
14
15
book/dto/update-book.dto.ts
import { IsNotEmpty } from "class-validator";

export class UpdateBookDto {
    @IsNotEmpty({ message: 'id 不能为空' })
    id: number;

    @IsNotEmpty({ message: '书名不能为空' })
    name: string;

    @IsNotEmpty({ message: '作者不能为空' })
    author: string;

    @IsNotEmpty({ message: '描述不能为空' })
    description: string;

    @IsNotEmpty({ message: '封面不能为空' })
    cover: string;
}
2
3
4
5
6
7
8
9
10
11
12
13
14
15
16
17
18
19
更新的时候还要传入书的 id
# 增删改查方法实现
然后在 BookService 里实现这些方法:
import { UpdateBookDto } from './dto/update-book.dto';
import { CreateBookDto } from './dto/create-book.dto';
import { Injectable } from '@nestjs/common';

@Injectable()
export class BookService {

    list() {

    }

    findById(id: number) {

    }

    create(createBookDto: CreateBookDto) {

    }

    update(updateBookDto: UpdateBookDto) {

    }

    delete(id: number) {

    }
}
2
3
4
5
6
7
8
9
10
11
12
13
14
15
16
17
18
19
20
21
22
23
24
25
26
27
这里我们需要用到 DbModule
在 BookModule 里引入下:
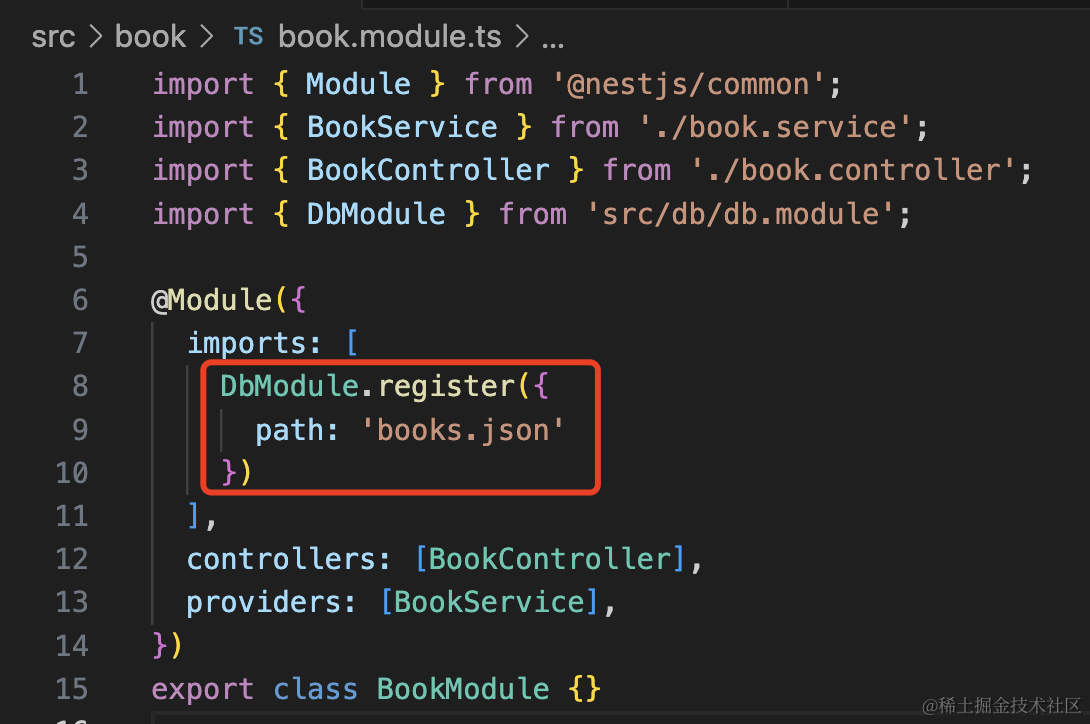
感受到封装 DbModule 为动态模块的意义了么?用的时候可以传入不同的参数,动态改变模块的内容。
接下来注入 dbService,实现下 service 的方法:
import { UpdateBookDto } from './dto/update-book.dto';
import { CreateBookDto } from './dto/create-book.dto';
import { BadRequestException, Inject, Injectable } from '@nestjs/common';
import { DbService } from 'src/db/db.service';
import { Book } from './entities/book.entity';

function randomNum() {
    return Math.floor(Math.random() * 1000000);
}

@Injectable()
export class BookService {

    @Inject()
    dbService: DbService;

    async list() {
        const books: Book[] = await this.dbService.read();
        return books;
    }

    async findById(id: number) {
        const books: Book[] = await this.dbService.read();
        return books.find(book => book.id === id);
    }

    async create(createBookDto: CreateBookDto) {
        const books: Book[] = await this.dbService.read();

        const book = new Book();
        book.id = randomNum();
        book.author = createBookDto.author;
        book.name = createBookDto.name;
        book.description = createBookDto.description;
        book.cover = createBookDto.cover;

        books.push(book);

        await this.dbService.write(books);
        return book;
    }

    async update(updateBookDto: UpdateBookDto) {
        const books: Book[] = await this.dbService.read();

        const foundBook = books.find(book => book.id === updateBookDto.id);

        if(!foundBook) {
            throw new BadRequestException('该图书不存在');
        }

        foundBook.author = updateBookDto.author;
        foundBook.cover = updateBookDto.cover;
        foundBook.description = updateBookDto.description;
        foundBook.name = updateBookDto.name;

        await this.dbService.write(books);
        return foundBook;
    }

    async delete(id: number) {
        const books: Book[] = await this.dbService.read();
        const index = books.findIndex(book => book.id === id);

        if(index !== -1) {
            books.splice(index, 1);
            await this.dbService.write(books);
        }
    }
}
2
3
4
5
6
7
8
9
10
11
12
13
14
15
16
17
18
19
20
21
22
23
24
25
26
27
28
29
30
31
32
33
34
35
36
37
38
39
40
41
42
43
44
45
46
47
48
49
50
51
52
53
54
55
56
57
58
59
60
61
62
63
64
65
66
67
68
69
70
虽然代码比较多,但是都比较简单,就是读取文件里 books 的内容,做下增删改,然后再写入文件。
其中,新增时的 id 是用随机数实现的。
创建用到到的 entities/book.entity.ts
export class Book {
    id: number;
    name: string;
    author: string;
    description: string;
    cover: string;
}
2
3
4
5
6
7
# 测试接口
测试下:
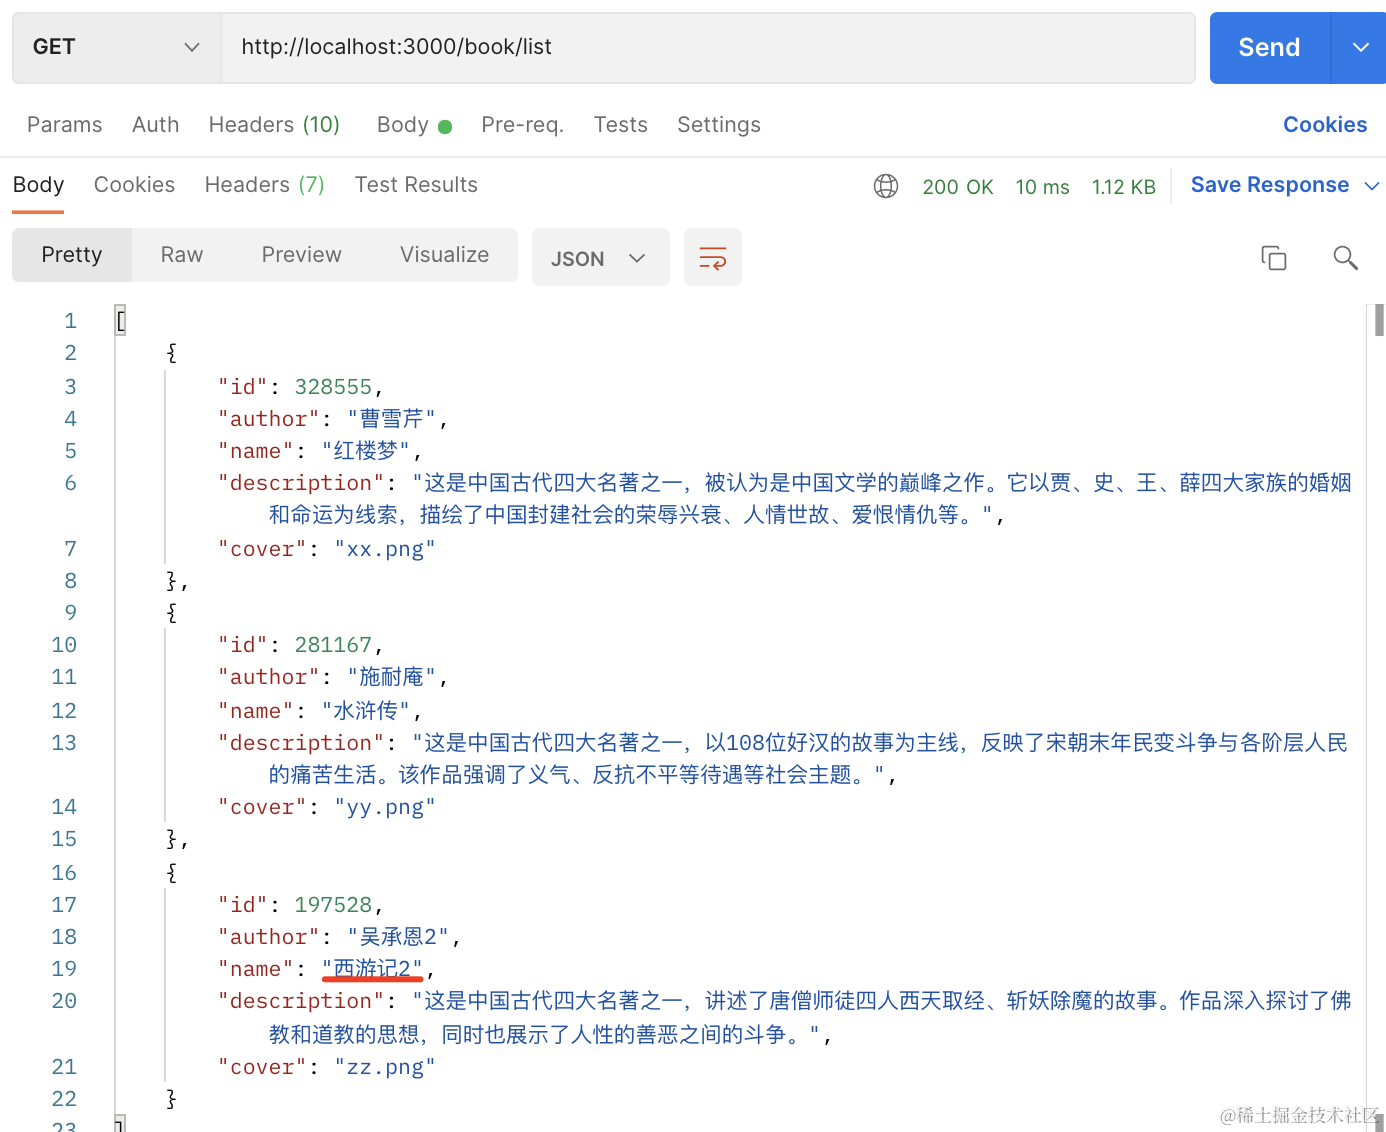
先新增三本书:
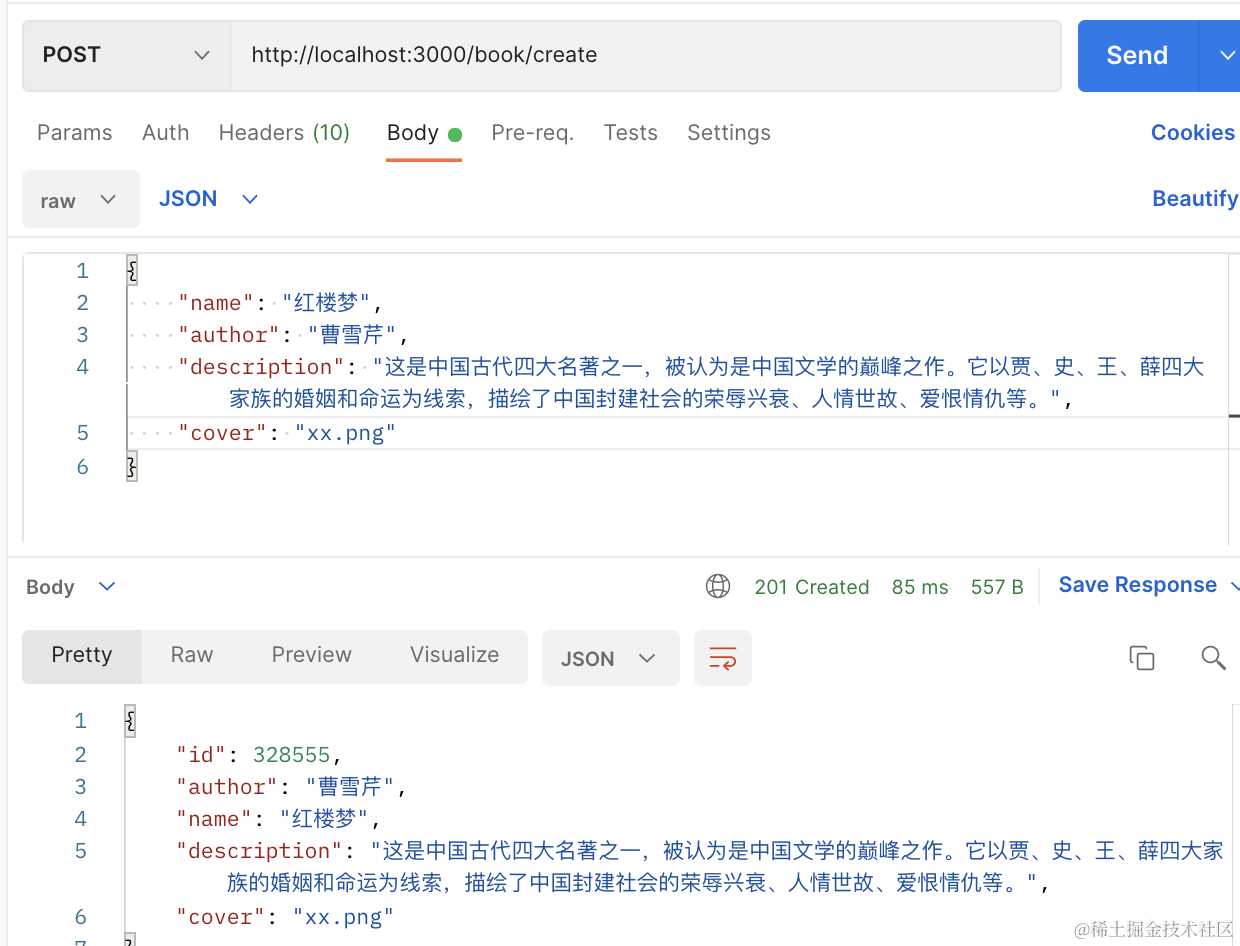
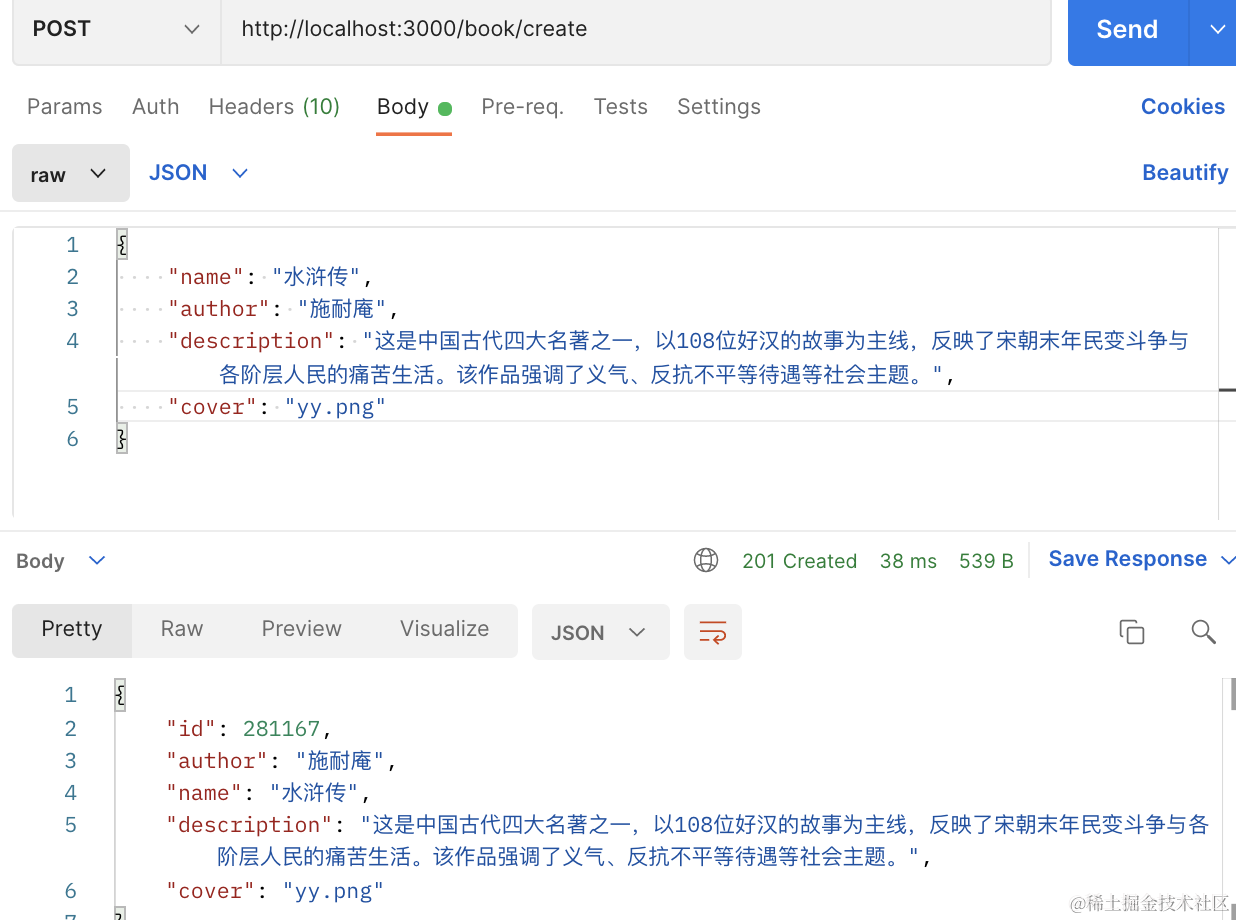
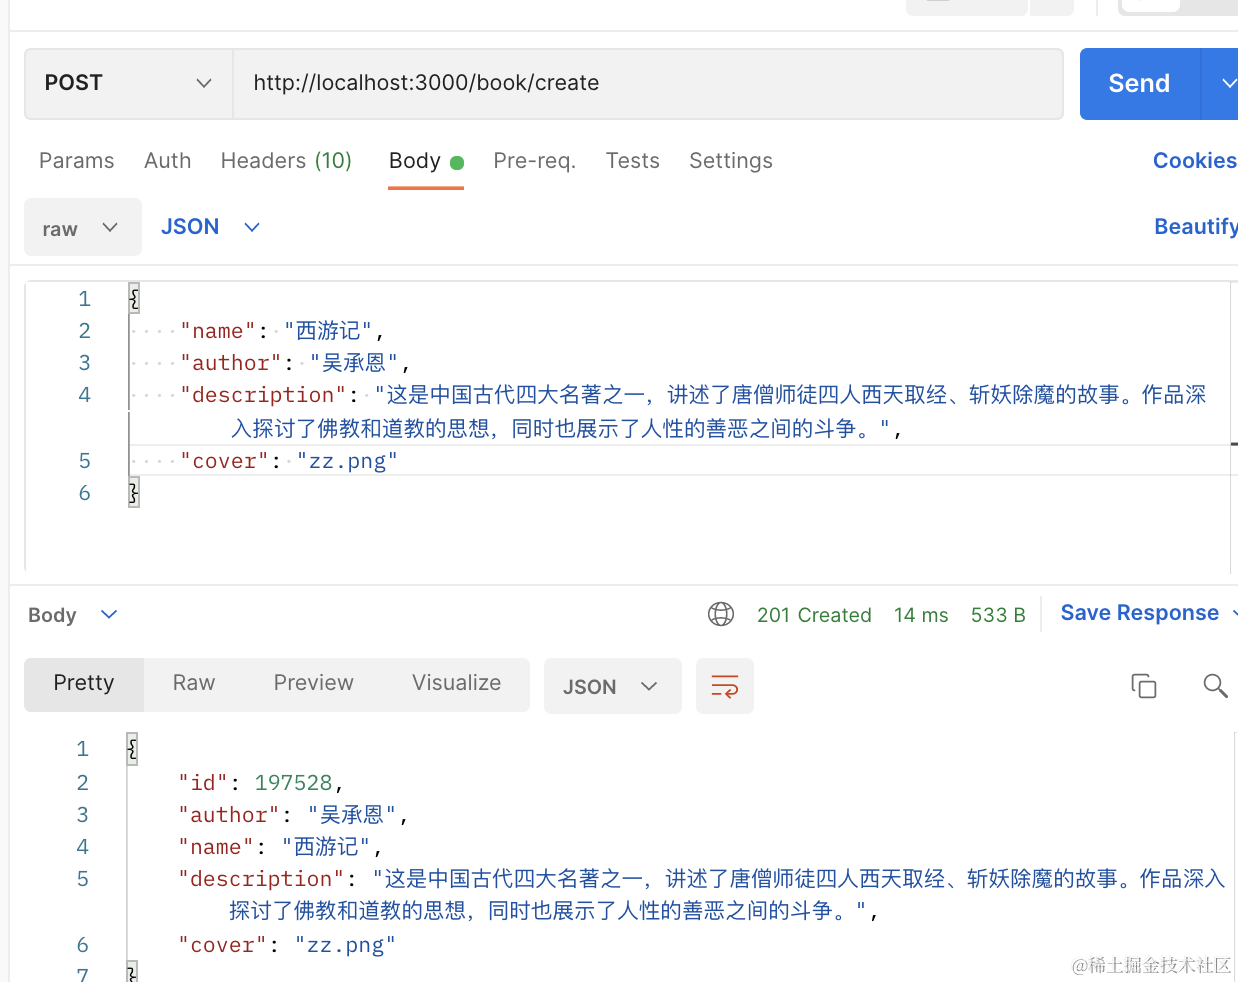
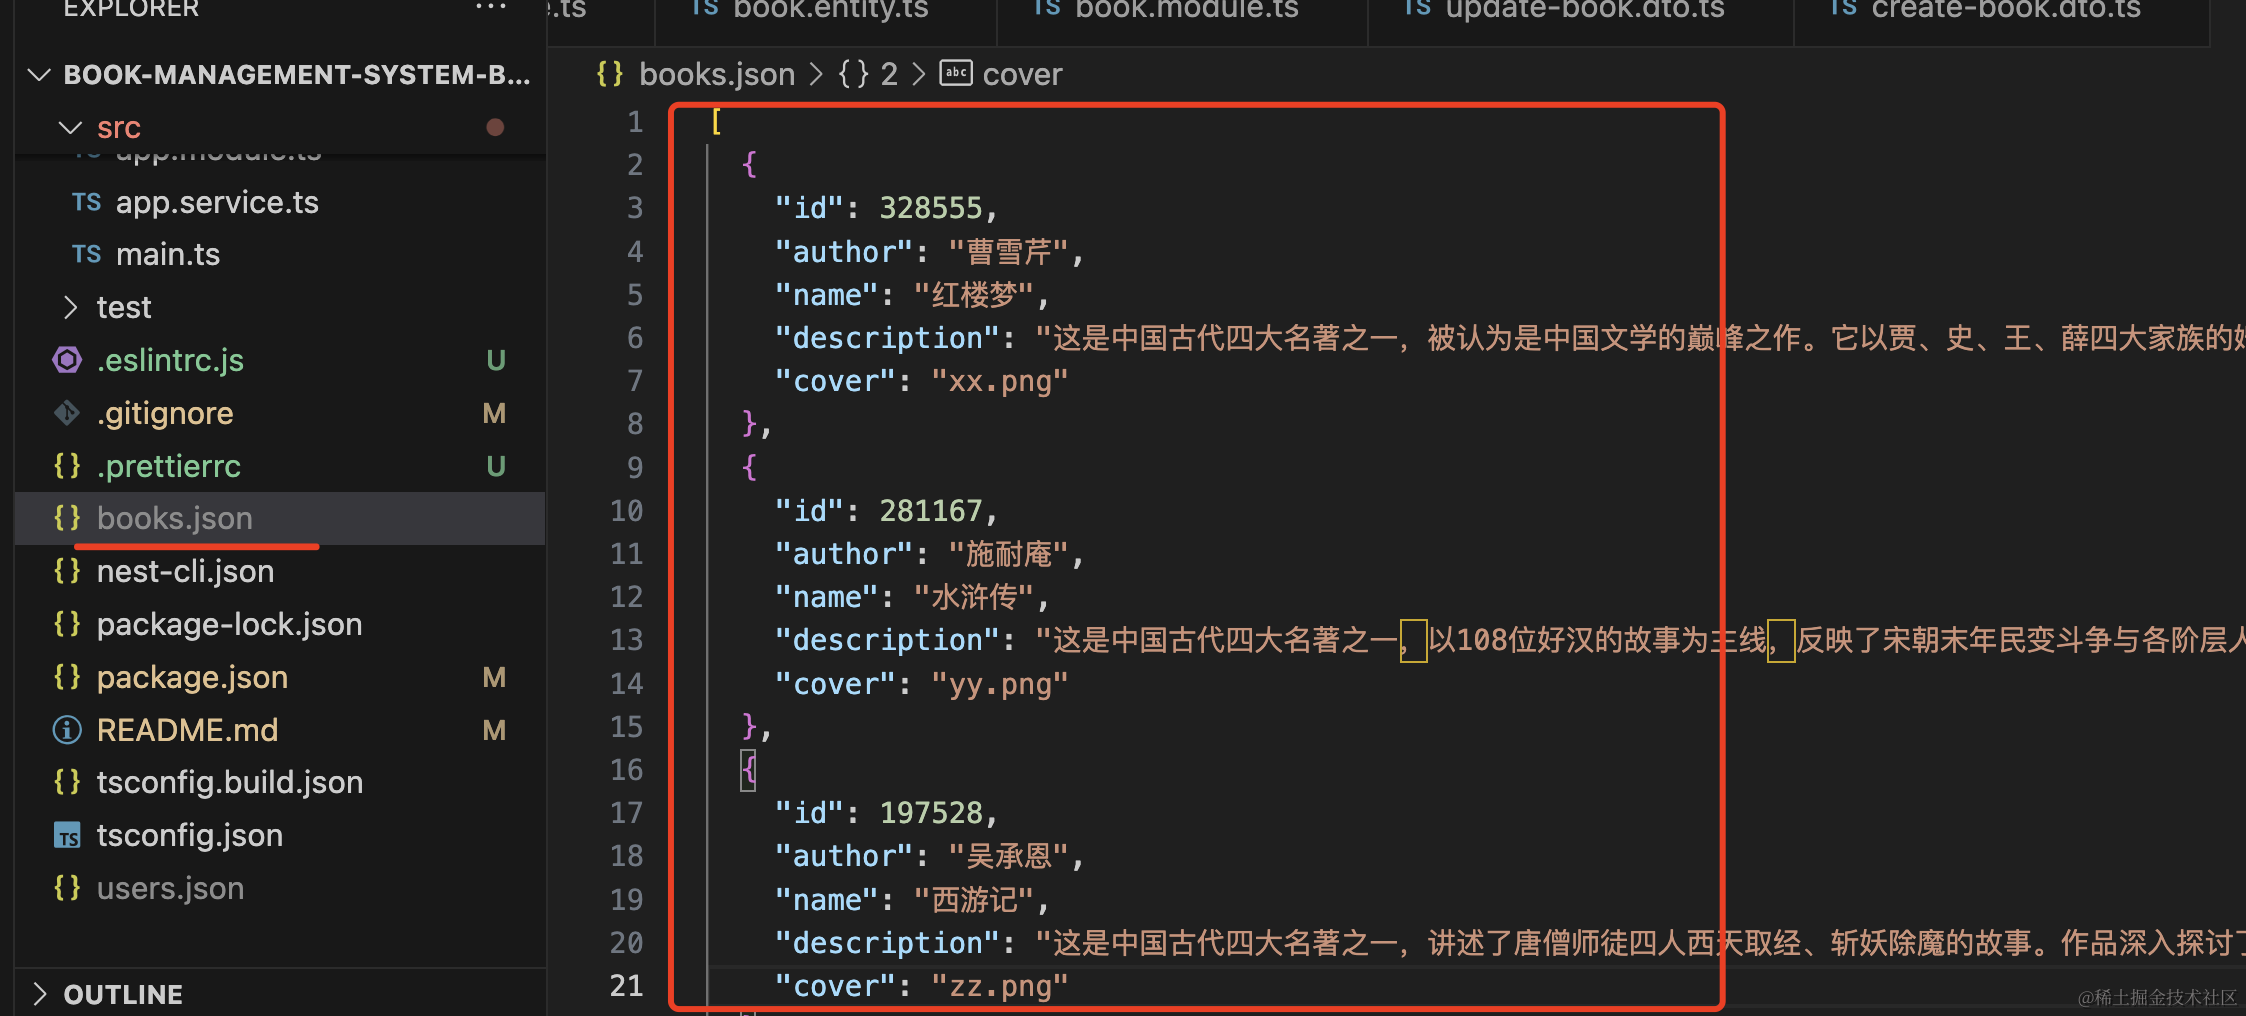
在 books.json 文件里保存了这三本书的数据:
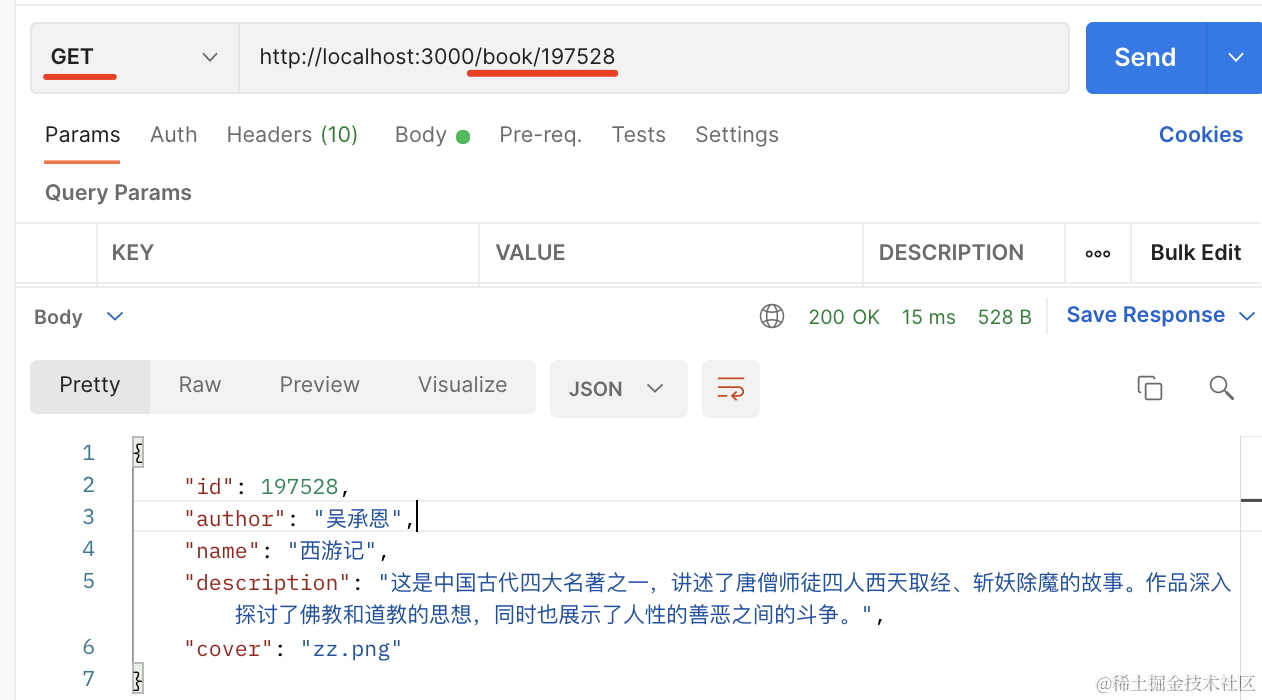
然后试下查询单本书的信息:
再试下修改:

修改成功。
再测试下删除:
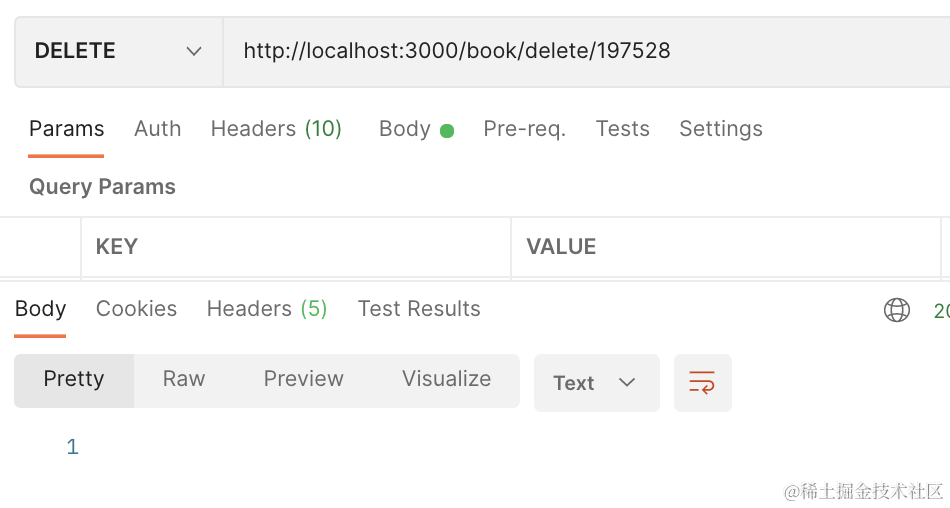
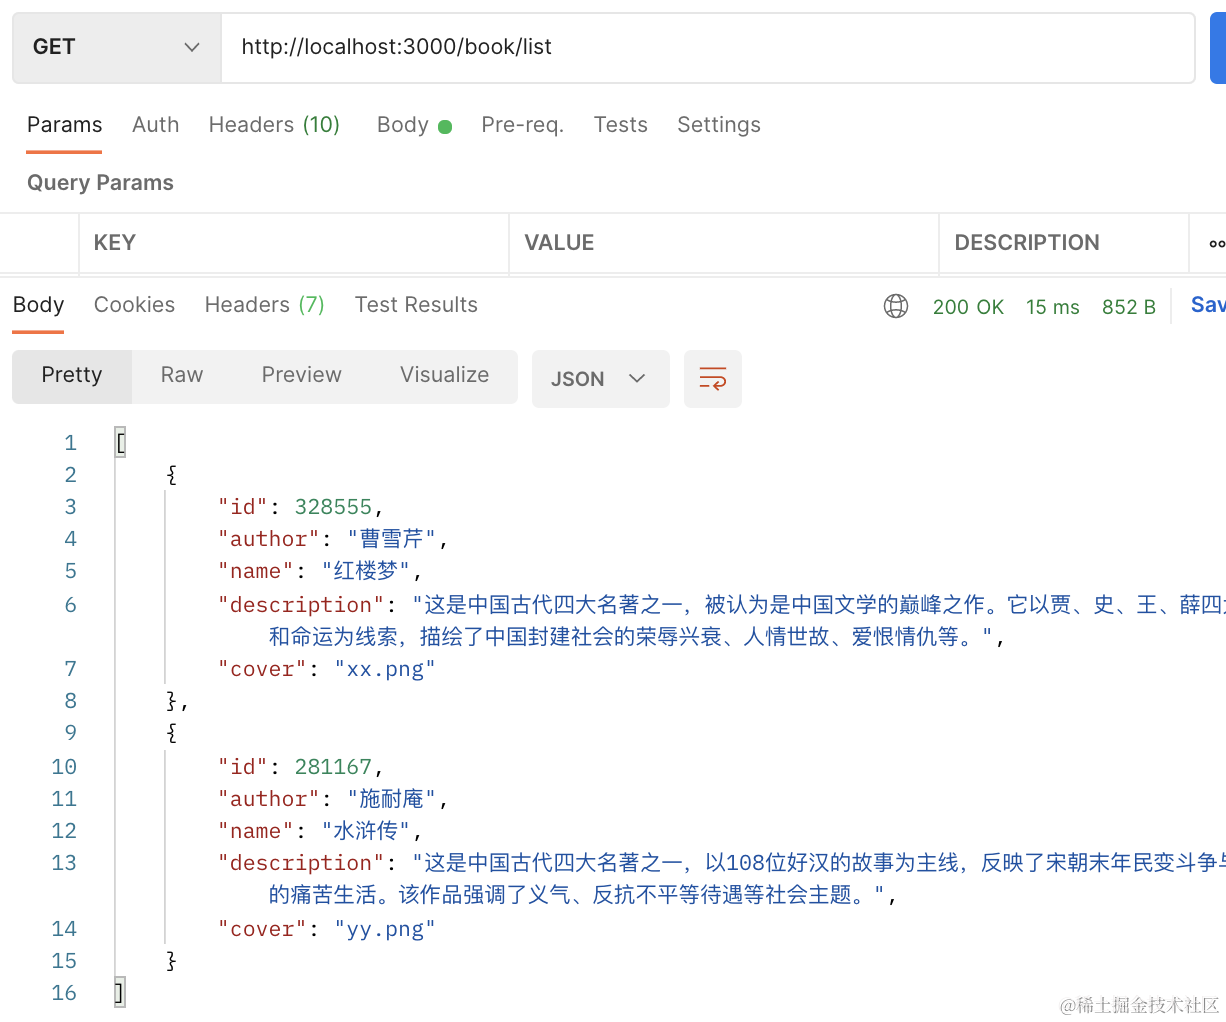
也没问题。
这样,图书的增删改查就都完成了。
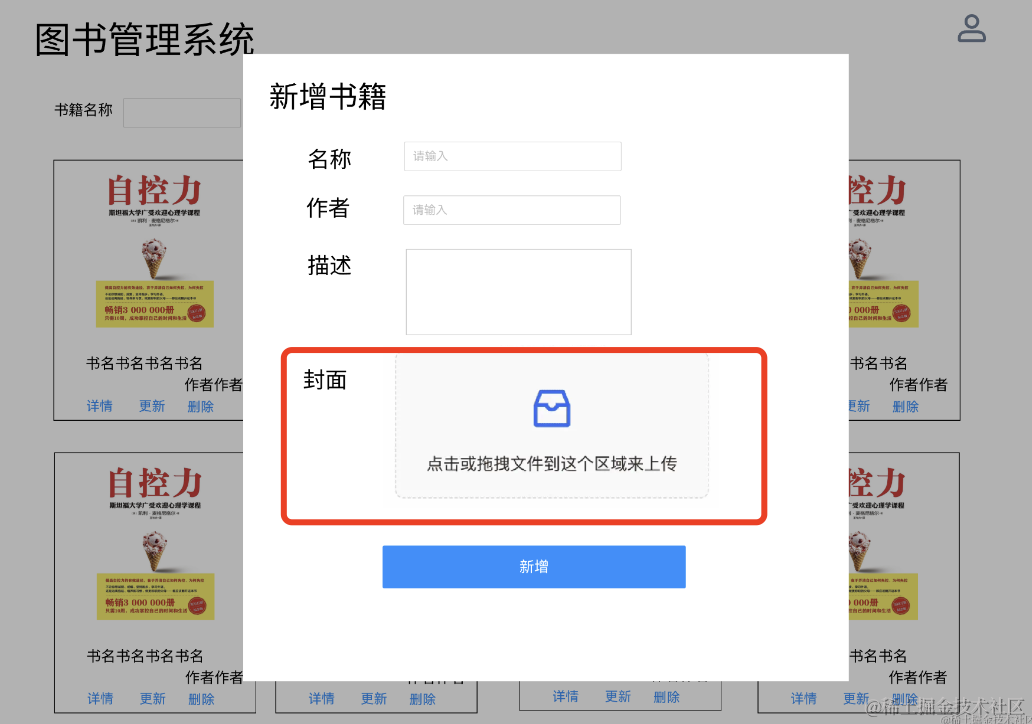
# 添加上传封面接口
还有一个上传封面的接口:
安装用到的包:
npm install --save multer
npm install -save-dev @types/multer
2
然后在 BookController 添加一个 /book/upload 接口:
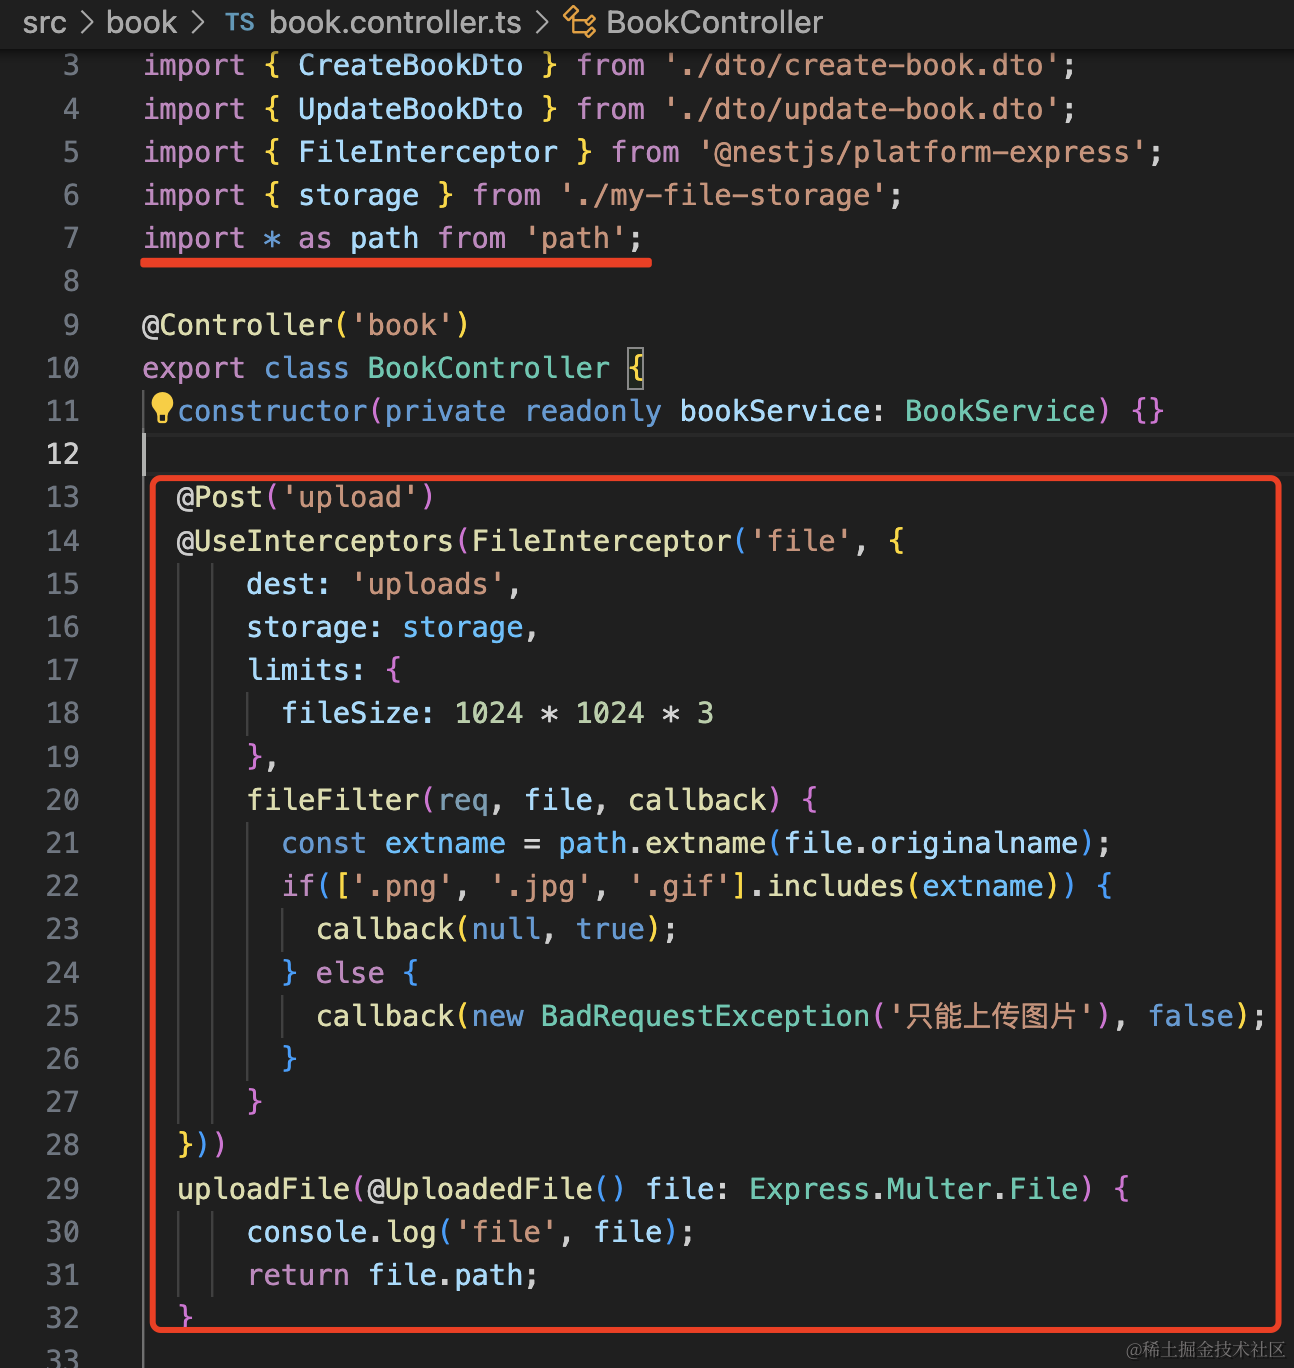
@Post('upload')
@UseInterceptors(FileInterceptor('file', {
    dest: 'uploads',
    storage: storage,
    limits: {
      fileSize: 1024 * 1024 * 3
    },
    fileFilter(req, file, callback) {
      const extname = path.extname(file.originalname);
      if(['.png', '.jpg', '.gif'].includes(extname)) {
        callback(null, true);
      } else {
        callback(new BadRequestException('只能上传图片'), false);
      }
    }
}))
uploadFile(@UploadedFile() file: Express.Multer.File) {
    console.log('file', file);
    return file.path;
}
2
3
4
5
6
7
8
9
10
11
12
13
14
15
16
17
18
19
20
通过 FileInterceptor 的拦截器来解析请求里的 file 字段,第二个参数是一些 options:
dest 是保存文件的目录,limits 是文件大小限制,限制为 3 M,fileFilter 限制扩展名只能是图片。
然后创建自定义 storage。
my-file-storage.ts
import * as multer from "multer";
import * as fs from 'fs';
const storage = multer.diskStorage({
destination: function (req, file, cb) {
try {
fs.mkdirSync('uploads');
}catch(e) {}
cb(null, 'uploads')
},
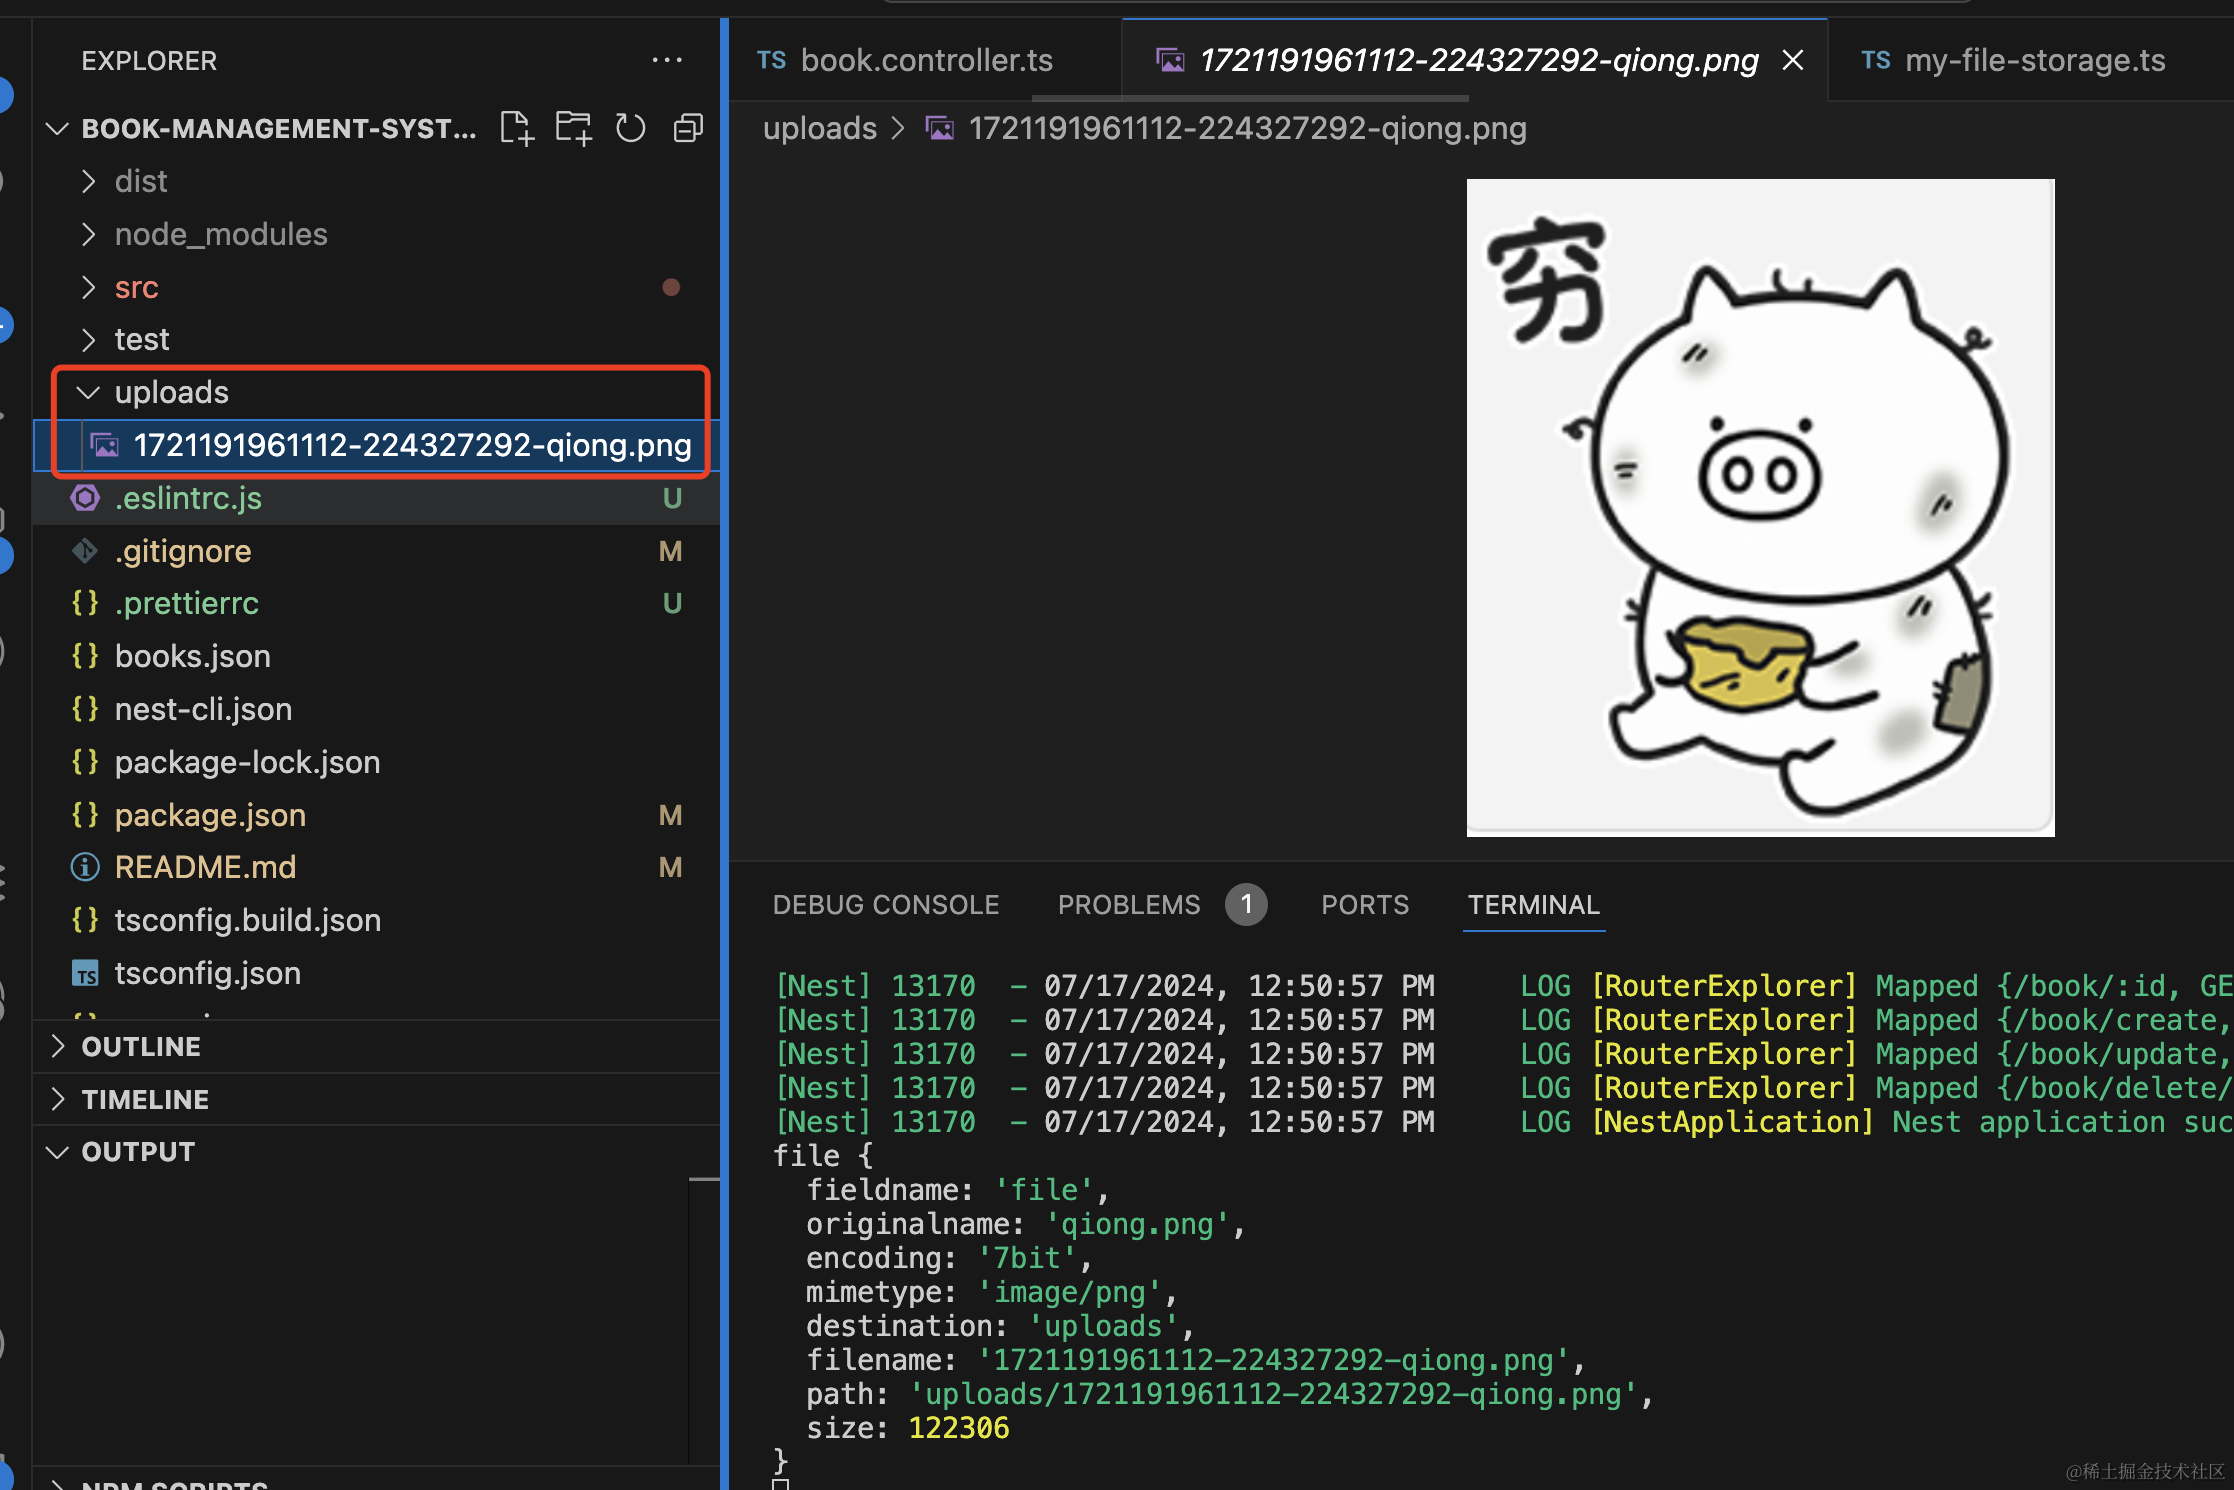
filename: function (req, file, cb) {
const uniqueSuffix = Date.now() + '-' + Math.round(Math.random() * 1E9) + '-' + file.originalname
cb(null, uniqueSuffix)
}
});
export { storage };
2
3
4
5
6
7
8
9
10
11
12
13
14
15
16
17
18
这里指定了保存的目录为 uploads,文件名为时间戳-随机数-文件名的格式。
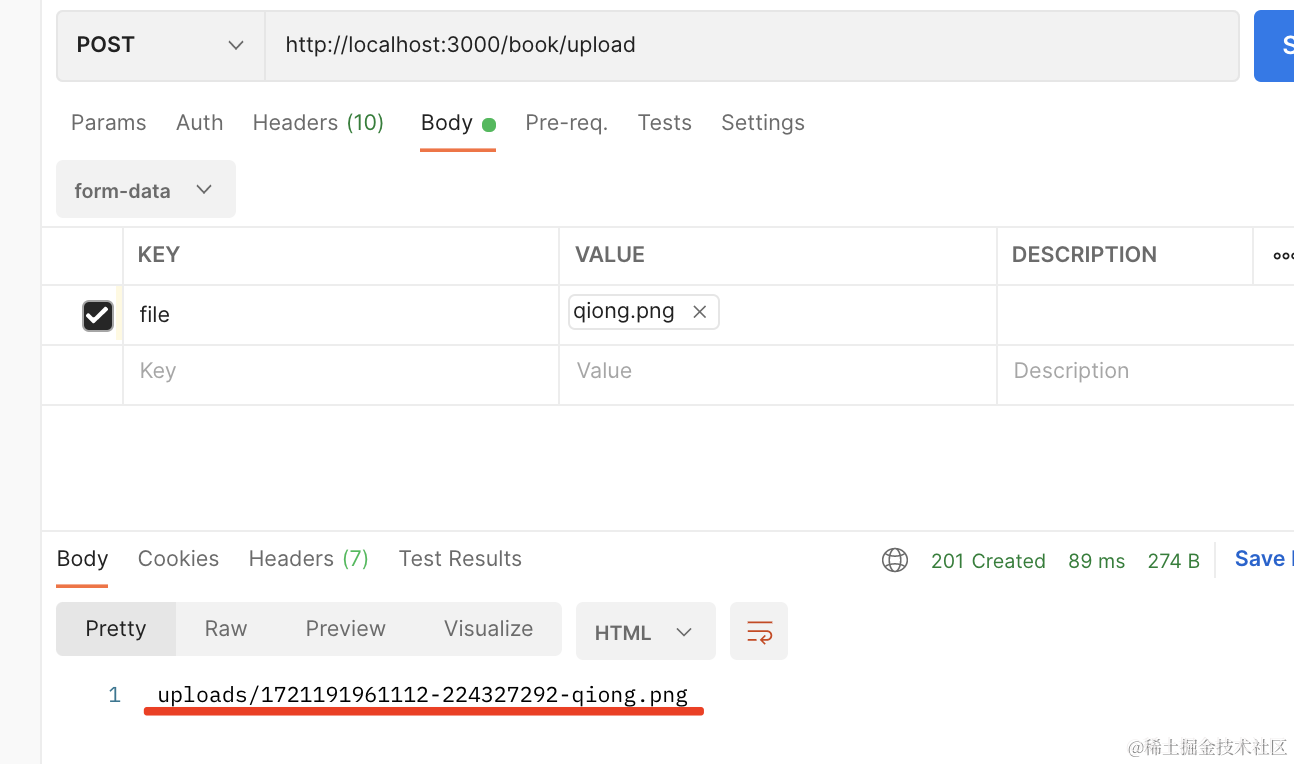
在 postman 里测试下:
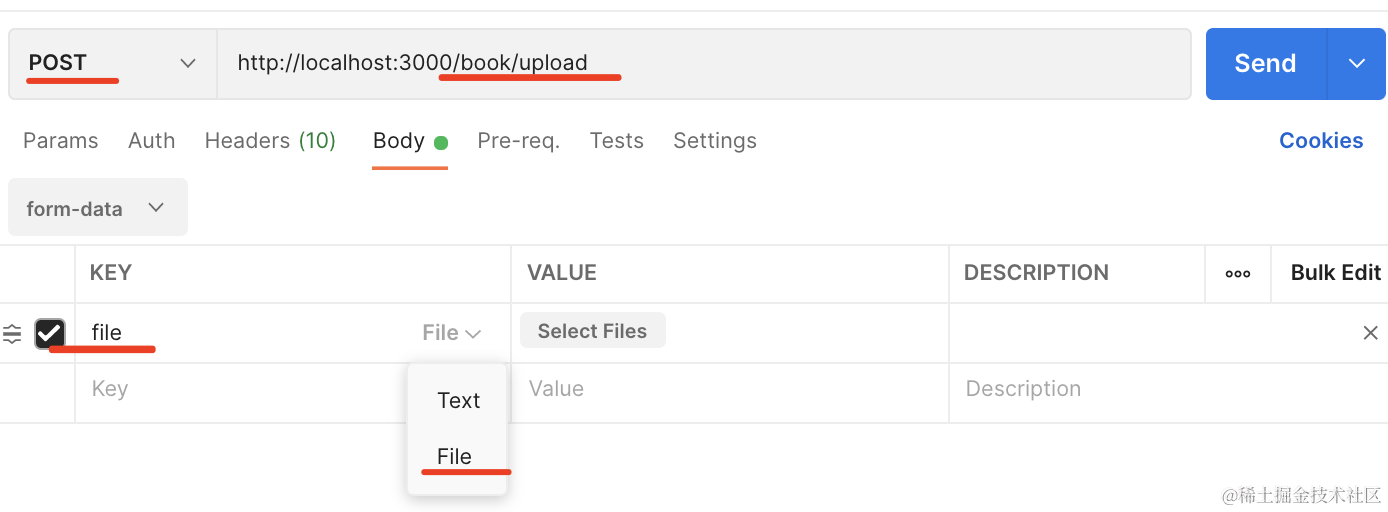
切换 body 格式为 form-data,添加一个 file 字段,然后选择一个文件:
可以看到,服务端接收到了文件,并且返回了文件路径。
当你传的不是图片的时候,会返回 400 响应:

# 设置静态文件目录
此外,还要把 uploads 目录设置为静态文件目录:

app.useStaticAssets(join(__dirname, '../uploads'), {prefix: '/uploads'});
就能直接访问了:

这样,上传接口就完成了。
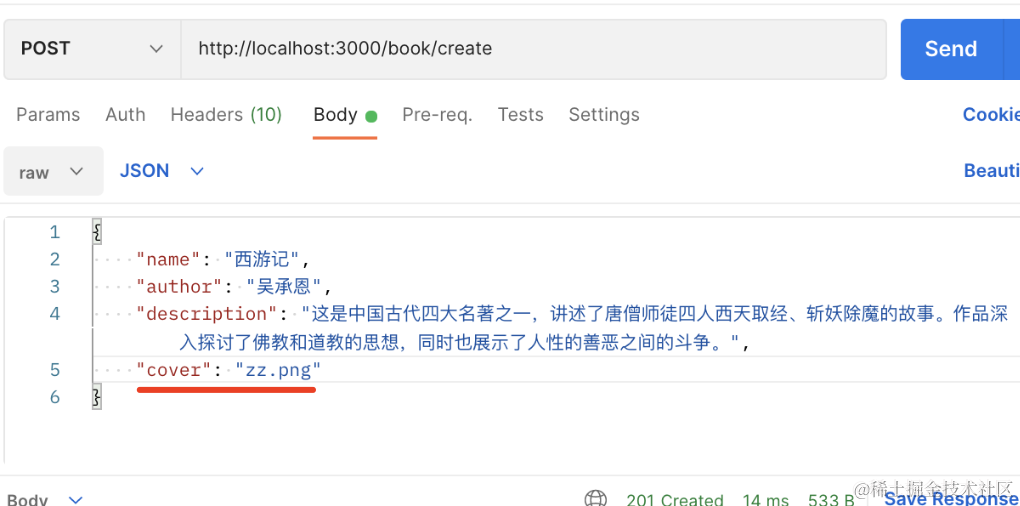
然后上传完文件,把返回的文件路径作为 cover 字段的值传上去就可以了:
案例代码上传了小册仓库 (opens new window)
# 总结
这节我们实现了图书模块的接口,包括列表、详情、创建、更新、删除、上传文件。
创建了用到的 dto,并且添加了 class-validator 的校验规则的装饰器。
用 multer 实现了文件上传,并做了自定义文件存储路径。
这样,我们后端的接口就都写完了。